


As we gear up for the holidays, you may think of turkey and all the dishes that go alongside it on the holiday table. You may busy yourself trolling Pinterest for new dessert ideas, scour your favorite cookbooks for fresh inspiration for the dressing or the rolls, and try to decide whether brining the bird is really worth the work, let alone the room in the refrigerator it will require.
But the single most impressive thing you can set on your holiday table may be homemade butter.
You won’t need special equipment beyond what’s probably already in your kitchen. And you can use easy-to-find ingredients. Here’s your do-it-yourself guide to making homemade butter.
First, get your cream
A quart of cream will yield approximately a pound of butter.
Ideally, you’ll use pasteurized organic heavy cream without stabilizers such as carrageenan or agar. Look at the label to determine this. If the cream is labeled “ultra-pasteurized,” it is more likely to have stabilizers added. National brands of heavy cream are almost invariably ultra-pasteurized, so look for smaller, local or regional brands. You can make butter with ultra-pasteurized cream, but its flavor may be flatter, because the ultra-pasteurizing process destroys some flavor compounds. Even so, butter made with ultra-pasteurized cream will still taste better than store-bought.
European butters are often made from cultured cream, which lends a deeper, more complex flavor (albeit one that tastes off to many Americans, who are used to “sweet cream butter” made from fresh, uncultured cream). In the old days, before pasteurization, the natural lactobacilli in raw milk would cause it to sour lightly if left at room temperature for a couple of days.
If you’d like to make European-style butter, bring a quart of heavy cream to room temperature and stir in 2 tablespoons of cultured buttermilk, which is a mesophilic (or “moderate temperature loving”) culture. Let it stand at room temperature, covered, for 6 to 12 hours, or until the cream thickens and tastes pleasantly sour.
Note that some instructions on the Internet direct you to use yogurt as a culture, but yogurt is a thermophilic (heat-loving) culture and will require you to keep the cream at a temperature of 100 to 110 degrees Fahrenheit during the culture period. Buttermilk is easier — and more traditional.
Equipment: Low-tech to high-tech
You can make butter using only cream and a glass jar, if you wish. It’s great fun for the kids, who have the energy — and muscle power — to shake a half-cup of heavy cream in a quart jar, and watch it magically turn into butter. You’ll get a couple of tablespoons of butter with this method.
But if you want enough to serve a crowd, you’ll want something that can accommodate a larger volume of cream.
You can certainly make butter with a hand mixer, although you’ll need a big bowl and some patience. A stand mixer fitted with the whisk attachment will be easier. I’ve made butter in my food processor fitted with either the steel blade or the plastic one, and a heavy-duty blender will also do a good job.
The method
Butter is basically whipped cream gone bad. That is, if you over-beat whipping cream, it will eventually separate into butter and skimmed milk or buttermilk. In this case, that’s what we want to happen.
Pour the cream into your device of choice and begin processing or beating it. You’ll hear the cream “break” as the butter begins to come and the cream separates into butter globules and liquid. The sloshing sound gives the moment away.
At this point, pour the butter and liquid through a fine sieve to drain most of the liquid away. If you used fresh cream, that liquid is skimmed milk. If you cultured the cream, the liquid is buttermilk. Either way, save it for cooking!
Transfer the butter particles to a glass bowl — because the butter won’t stick to glass — and rinse it under cold running water, working it with a spatula by pressing the butter against the sides of the bowl, until the water runs clear. Drain the butter and add 1/2 to 1 teaspoon salt, if you wish (it will help remove even more of the liquid, which makes the butter keep longer, and improves the flavor), and work the salt into the butter.
Drain the butter again, if necessary, and pack it into a mold or shape it into a log and place on a piece of parchment paper. Use the paper to form it into a smooth, firm cylinder, wrap it carefully and use within a week, or freeze for up to a month. Thaw overnight in the refrigerator.
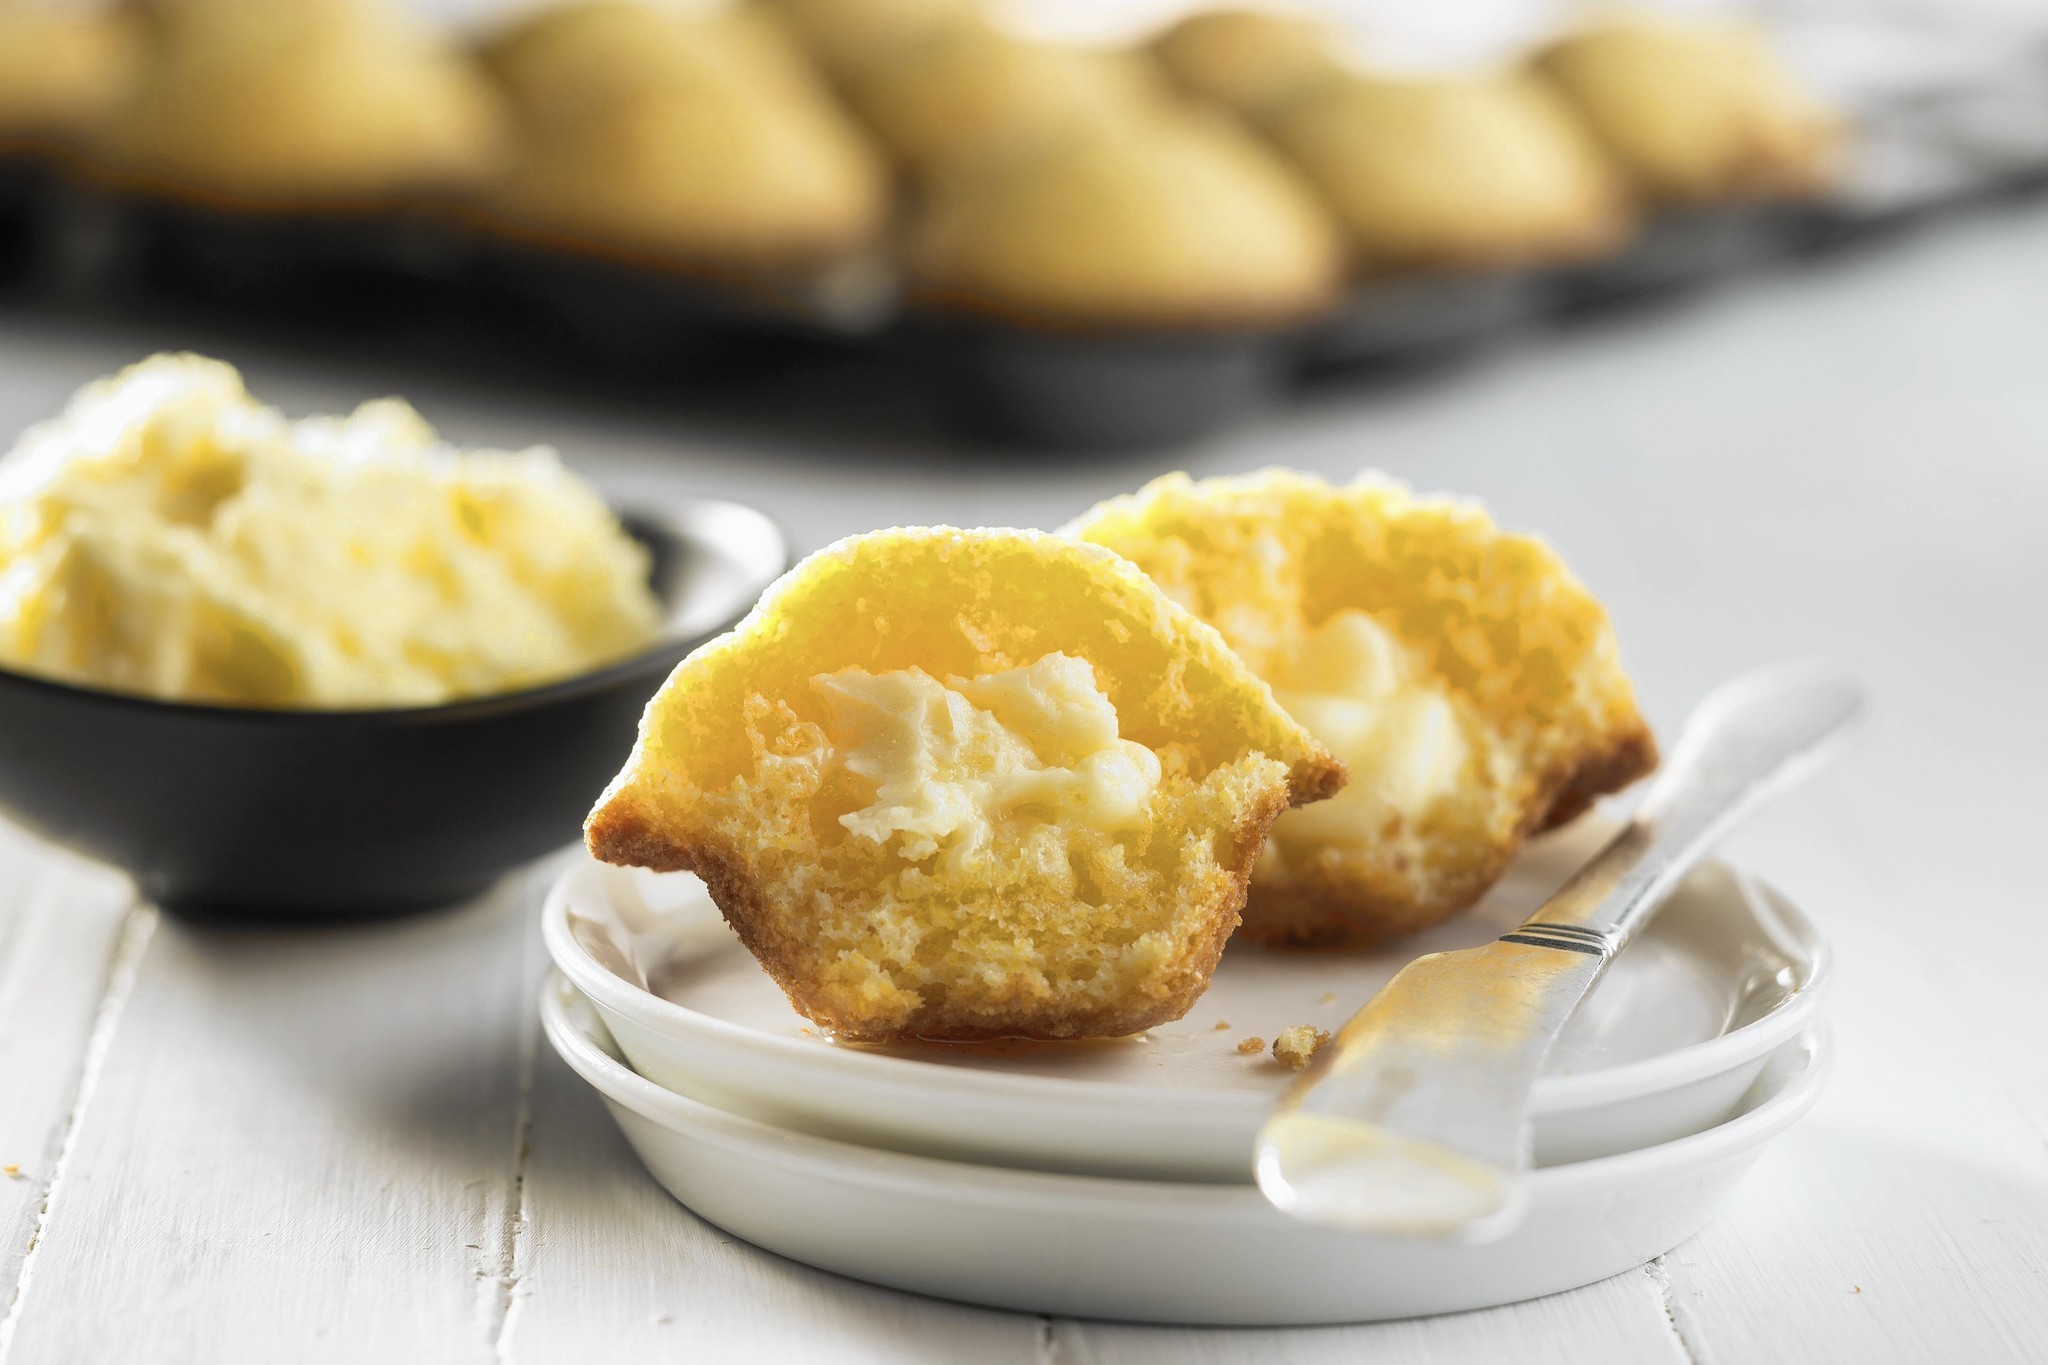
On second thought, maybe you’d better make two batches. Homemade butter is so good that it disappears quickly.
Flavor boosts
You’ve made delicious, fresh butter, but you would like to gild that lily? You want a compound (flavored) butter. Each of these ideas is for 1 pound; adjust if making less. Work the ingredients into the butter after you have salted, then drained it the final time.
Sage-rosemary-thyme-parsley: 1 tablespoon each fresh parsley, sage, rosemary and thyme, chopped; work it into the turkey’s skin before roasting.
Blue-cheese: 8 ounces gorgonzola or Roquefort, plus 2 teaspoons Dijon-style mustard and 1/2 teaspoon each of salt and hot pepper sauce (such as Tabasco or Franks); serve over mashed potatoes, steamed vegetables, steak.
Cinnamon-maple: 3 to 4 tablespoons real maple syrup, plus 1/2 teaspoon each cinnamon and ground allspice, and a pinch of salt; serve over hot rolls.
Robin Mather is a senior associate editor at Mother Earth News and the author of the cookbook and memoir “The Feast Nearby.”


